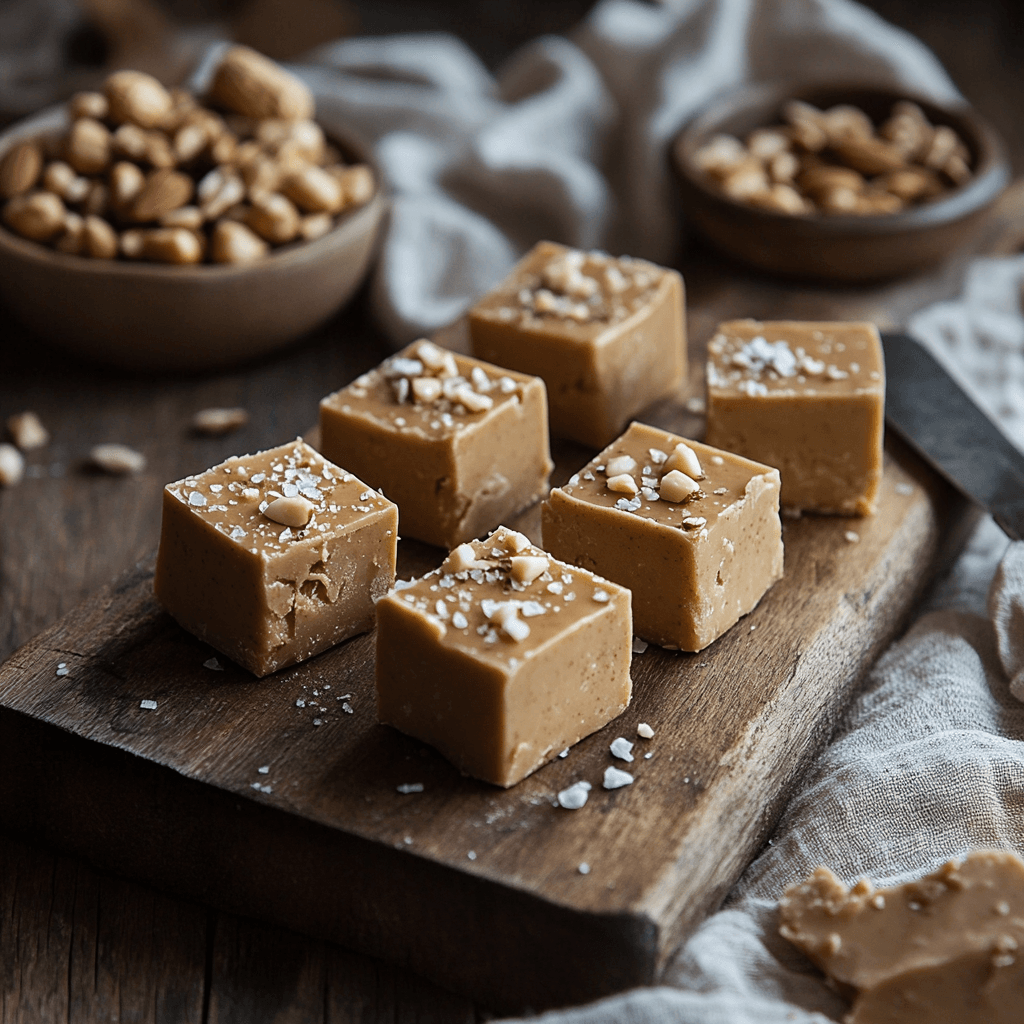
Who doesn’t love the melt-in-your-mouth decadence of fudge? Peanut Butter and Frosting Fudge takes this beloved dessert to the next level with its rich creaminess and delightful sweetness. This simple no-bake recipe combines the nutty charm of peanut butter with the smooth texture of frosting, making it a surefire way to satisfy your sweet tooth in minutes.
This fudge is more than just a dessert—it’s a versatile treat perfect for parties, gifting, or a quick indulgence after dinner. Historically, fudge became a favorite in the United States during the late 19th century, with its roots tied to accidental candy-making experiments. Over the years, inventive variations like this peanut butter version have made it a global sensation.
Moreover, this recipe’s ease and adaptability make it ideal for cooks of all skill levels. In addition, you can easily customize the flavors with add-ins like crushed nuts, chocolate chips, or even a drizzle of caramel. Whether you’re a beginner in the kitchen or a seasoned baker, this creamy peanut butter fudge is a recipe you’ll want to keep in your arsenal.
Furthermore, its minimal ingredient list means you likely have everything you need in your pantry right now. Ready to create a dessert everyone will adore? Let’s dive into the details!
If you’re a fan of peanut butter desserts, you’ll also love our Air Fryer Peanut Butter Cookies. These crispy yet soft cookies offer a quick and healthy way to enjoy peanut butter’s creamy goodness. Pair them with your fudge for a delicious peanut butter-themed dessert spread.
Ingredients and Required Equipment
Ingredients & Equipment
| Category | Details |
|---|---|
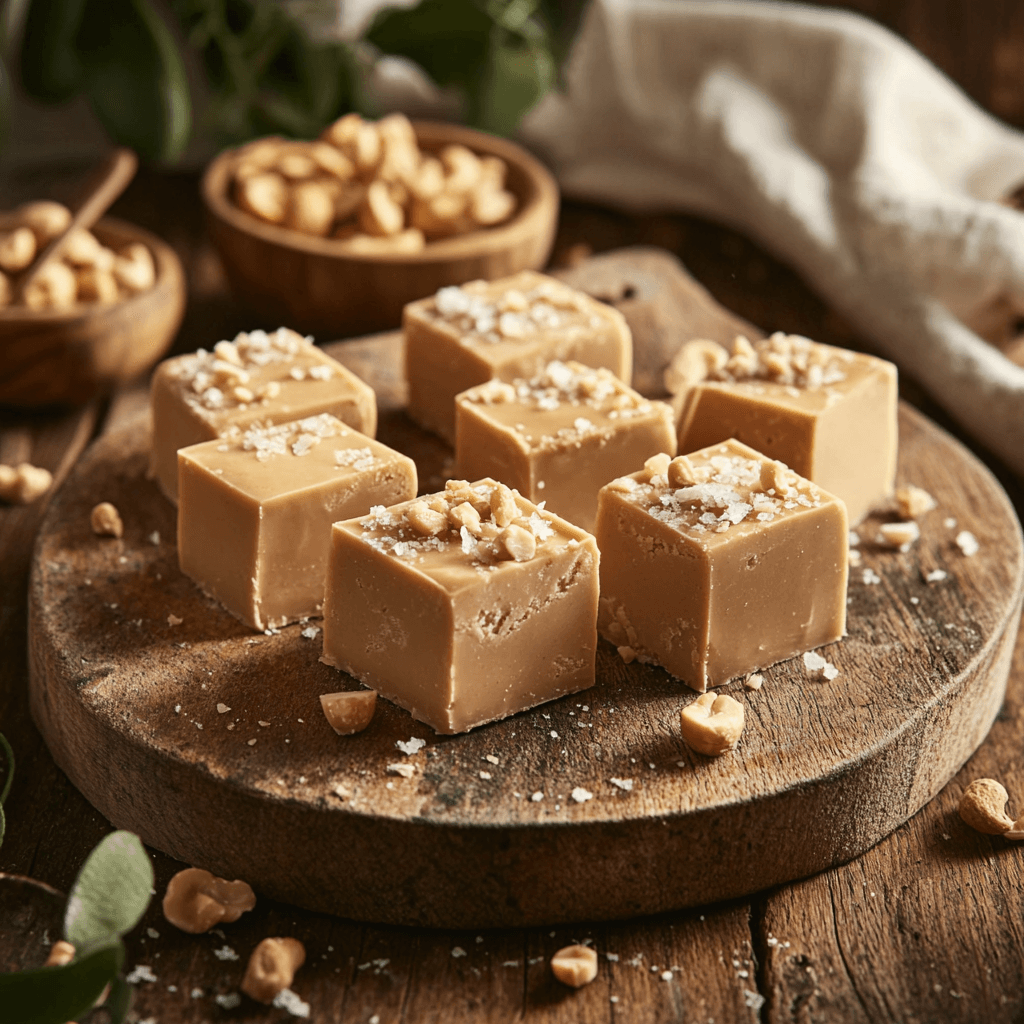
| Ingredients | 1 cup smooth peanut butter(benefits) (natural or commercial; almond butter works as a substitute). |
| 1 can (16 oz) vanilla frosting (chocolate frosting can replace vanilla for a different flavor). | |
| Optional add-ins: Crushed nuts, mini chocolate chips, or a sprinkle of sea salt. | |
| Required Equipment | Microwave-safe bowl (essential for melting ingredients; glass or ceramic preferred). |
| Mixing spatula (a silicone spatula works best for smooth stirring). | |
| 8×8-inch baking dish (lined with parchment paper for easy removal). | |
| Knife or bench scraper (for cutting the fudge into squares). |
Step-by-Step Guide to Making Peanut Butter and Frosting Fudge
Preparation
- Line Your Pan: First, line an 8×8-inch baking dish with parchment paper, ensuring there’s enough overhang for easy fudge removal later. Set aside.
- Gather Ingredients: Next, measure out your peanut butter and prepare the frosting can by removing its lid and foil seal.
Mixing Ingredients
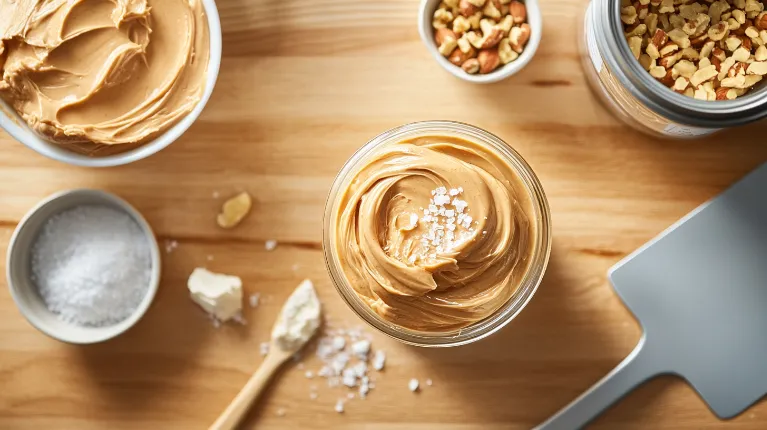
- Microwave Peanut Butter and Frosting: Combine the peanut butter and frosting in a microwave-safe bowl. Heat the mixture in 30-second intervals, stirring in between, until fully melted and smooth (usually about 1–2 minutes).
- Stir Thoroughly: After that, use a spatula to ensure the ingredients are completely combined. The mixture should be creamy and free of lumps.
Pouring and Setting
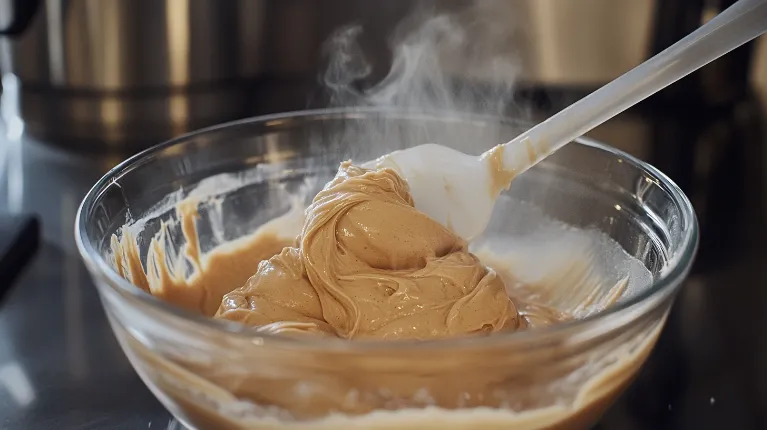
- Transfer to Pan: Pour the melted mixture into the prepared pan. Use a spatula to smooth the top for an even surface.
- Add Toppings: If desired, sprinkle crushed nuts, chocolate chips, or sea salt on top. Lightly press them into the surface so they adhere.
Cooling and Serving
- Refrigerate: Place the pan in the refrigerator for 2–3 hours, or until the fudge is firm.
- Cut into Squares: Once set, lift the fudge out of the pan using the parchment paper overhang. Use a sharp knife to cut into 16 squares.
Pro Tip: To get clean edges, warm the knife slightly by running it under hot water, then dry it before cutting.
Enjoy your creamy, homemade Peanut Butter and Frosting Fudge as a delightful snack or dessert. Share your creations with friends or keep it as a secret indulgence—it’s your call!
Tips and Tricks for Perfecting Peanut Butter and Frosting Fudge
Making Peanut Butter and Frosting Fudge is simple, but a few expert tips can help you achieve the perfect texture and flavor every time.
1. Achieving the Right Consistency:
The most common challenge is ensuring the fudge isn’t too runny or too firm. To avoid this, melt the peanut butter and frosting in short microwave intervals, stirring after each. This prevents overheating, which can cause separation. However, if the mixture appears too thick, add a teaspoon of milk or cream and mix well to restore smoothness.
2. Preventing Stickiness:
Fudge can become sticky if not cooled properly. Always refrigerate it for at least 2–3 hours, ensuring the surface is firm before cutting. On the other hand, leaving it at room temperature for too long can cause melting. Store the fudge in a cool, dry place or refrigerate for best results.
3. Enhancing Flavor:
To take your fudge to the next level, consider incorporating a pinch of sea salt or a dash of vanilla extract. These subtle additions enhance the peanut butter’s nuttiness and create a more balanced taste.
4. Cutting Clean Squares:
Use a sharp knife warmed under hot water and dried before cutting. This trick ensures smooth, clean edges without crumbling.
With these tips, you’ll create a perfect batch of fudge that’s as delightful to look at as it is to eat!
To complement the richness of fudge, consider a warm and cozy side like Cinnamon Maple Roasted Sweet Potatoes. The sweet, caramelized flavors of the potatoes pair wonderfully with the creamy, nutty taste of the fudge, making it a perfect addition to your holiday menu.
Serving and Garnishing Peanut Butter and Frosting Fudge
Serving Peanut Butter and Frosting Fudge is a great way to impress guests or make any dessert table more exciting. There are so many ways to make it look and taste even better!
1. Creative Garnishing Ideas:
Add extra style by drizzling melted chocolate or caramel on top. You can also sprinkle crushed peanuts, shredded coconut, or colorful sprinkles to give it a festive look. For a more polished finish, use a piping bag to decorate each piece with frosting swirls.
2. Pairing Suggestions:
This fudge tastes amazing with a scoop of vanilla ice cream for a rich, creamy treat. For a mix of textures, serve it with crunchy cookies or salty pretzels. It also pairs wonderfully with a warm drink like coffee or hot cocoa, which balances the sweetness perfectly.
3. Serving Occasions:
This fudge is perfect for any event, whether it’s a birthday, holiday, or just a casual gathering. Arrange the pieces on a nice plate to make them look extra special. For gifting, wrap individual pieces in parchment paper and tie them with a ribbon.
To sum up, Peanut Butter and Frosting Fudge is a versatile dessert that can be enjoyed in many creative ways.
Looking for more easy and irresistible desserts? Our Easy and Delicious Churro Cheesecake Recipe is a fusion of creamy cheesecake and cinnamon sugar churros. Combining this with Peanut Butter and Frosting Fudge on your dessert table will leave your guests asking for seconds.
Common Mistakes to Avoid When Preparing Peanut Butter and Frosting Fudge
Even the simplest recipes can go awry without attention to detail. Here are common mistakes to avoid and how to fix them:
1. Overheating the Mixture:
Excessive heat can cause the peanut butter and frosting to separate, resulting in a greasy texture. To prevent this, microwave in short bursts of 20–30 seconds, stirring in between. If separation occurs, whisk vigorously until the mixture recombines.
2. Fudge That’s Too Soft:
If your fudge doesn’t set properly, it might not have been cooled long enough. Ensure the mixture is fully firm by refrigerating for at least 2–3 hours. If it remains too soft, you can melt it down again, add a little powdered sugar, and allow it to reset. For detailed troubleshooting, visit this guide to fixing soft fudge.
3. Fudge That’s Too Hard:
On the other hand, overly firm fudge can result from overcooking or using cold, stiff ingredients. To salvage it, reheat the fudge gently in the microwave, then stir in a teaspoon of cream to restore its softness.
4. Uneven Cutting:
Skipping parchment paper can make removing and cutting the fudge difficult. Always line your pan to ensure easy handling and use a sharp knife for clean, even squares.
Avoid these pitfalls, and you’ll enjoy a flawless, creamy batch of Peanut Butter and Frosting Fudge every time!
FAQ about Peanut Butter and Frosting Fudge
1. Can I use a different type of frosting?
Yes, you can! For example, chocolate frosting adds a rich cocoa flavor, while cream cheese frosting provides a tangy twist. Experimenting with different frostings allows you to customize the flavor profile of your fudge. Thus, feel free to use whatever frosting you have on hand to suit your taste preferences.
2. How do I store the fudge?
To keep your fudge fresh, store it in an airtight container. At room temperature, it will last for about 3–5 days, while refrigeration extends its shelf life to up to 2 weeks. If you want to enjoy it later, freeze individual pieces for up to 3 months. Consequently, proper storage ensures your fudge maintains its creamy texture and delightful flavor.
3. Can I make this recipe vegan or gluten-free?
Absolutely! Use vegan frosting and natural peanut butter to create a dairy-free and plant-based version. Additionally, most frosting and peanut butter options are already gluten-free, but it’s wise to double-check ingredient labels. By making these simple swaps, you can enjoy a delicious vegan and gluten-free treat without compromising taste.
In conclusion, Peanut Butter and Frosting Fudge is a delightful dessert that combines the creamy nuttiness of peanut butter with the velvety sweetness of frosting. Whether you’re a seasoned baker or just starting out in the kitchen, this recipe’s simplicity and versatility make it a must-try for any occasion. Moreover, its quick preparation time ensures that even those with busy schedules can enjoy a homemade treat.
All things considered, this fudge is not just a dessert but a canvas for culinary creativity. For instance, you can experiment with different frostings to create unique flavor combinations or add toppings like sea salt, crushed nuts, or colorful sprinkles to elevate its presentation. Furthermore, its no-bake nature reduces the stress of dessert-making, allowing you to focus on the fun aspects of cooking.
Finally, why not share the joy with others? Prepare this fudge for family gatherings, wrap it as a thoughtful gift, or enjoy it as a well-deserved indulgence after a long day. Additionally, if your fudge doesn’t harden perfectly on the first try, don’t worry—adjusting the technique or adding a bit of powdered sugar can quickly resolve the issue.
To summarize, Peanut Butter and Frosting Fudge is a simple, satisfying, and endlessly versatile dessert. Try it today, and delight in the bliss of creating a treat that’s sure to impress and satisfy everyone who takes a bite!
Table of Contents
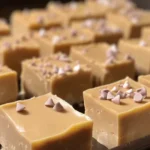
Peanut Butter and Frosting Fudge
- Total Time: 7 minutes
- Yield: 16 squares 1x
- Diet: Gluten Free
Description
A rich and creamy no-bake dessert recipe that combines the nutty flavor of peanut butter with the velvety smoothness of frosting. Perfect for quick indulgence, gifting, or party treats, this fudge is simple to prepare and customizable with a variety of toppings like nuts, chocolate chips, or caramel drizzle.
Ingredients
- 1 cup smooth peanut butter (natural or commercial; almond butter works as a substitute).
- 1 can (16 oz) vanilla frosting (chocolate frosting can replace vanilla for a different flavor).
- Optional add-ins: Crushed nuts, mini chocolate chips, or a sprinkle of sea salt.
Instructions
- Line Your Pan: Line an 8×8-inch baking dish with parchment paper, leaving enough overhang for easy removal later.
- Prepare Ingredients: Measure out the peanut butter and remove the lid and foil seal from the frosting can.
- Melt Ingredients: In a microwave-safe bowl, combine the peanut butter and frosting. Heat in 30-second intervals, stirring between each, until fully melted and smooth (about 1–2 minutes).
- Mix Thoroughly: Stir the mixture until creamy and free of lumps.
- Transfer to Pan: Pour the mixture into the prepared pan, smoothing the surface with a spatula.
- Add Toppings (Optional): Sprinkle crushed nuts, chocolate chips, or sea salt on top and lightly press them into the surface.
- Chill: Refrigerate for 2–3 hours or until the fudge is firm.
- Cut into Squares: Once set, lift the fudge out using the parchment paper. Use a sharp knife to cut into 16 squares.
Pro Tip: Warm the knife under hot water and dry it before cutting for clean edges.
Notes
- To make the fudge vegan, use dairy-free frosting and natural peanut butter.
- For added flavor, consider mixing in a pinch of sea salt or a splash of vanilla extract.
- Store the fudge in an airtight container in the fridge for up to 2 weeks or freeze for up to 3 months.
- Prep Time: 5 minutes
- Cook Time: 2 minutes
- Category: Dessert
- Method: No-Bake
- Cuisine: American
Nutrition
- Serving Size: 1 square (approx.)
- Calories: ~150 kcal
- Sugar: ~13 g
- Sodium: ~85 mg
- Fat: ~8 g
- Saturated Fat: ~3 g
- Unsaturated Fat: ~4 g
- Trans Fat: 0 g
- Carbohydrates: ~18 g
- Fiber: ~1 g
- Protein: ~3 g
- Cholesterol: 0 mg
Keywords: peanut butter fudge, no-bake dessert, frosting fudge, quick dessert recipe, gluten-free fudge
